We always recommend to our clients that paving is laid by an experienced landscape professional. These trades people lay patios regularly and if you use a trusted professional you can be assured of a beautiful job that will last decades. It doesn’t make much sense to spend your hard earned money on gorgeous paving slabs only to ruin the finish with a poor install. That being said at Forest Stone we believe it’s important to advise our clients as to the best practices in using our products. With this in mind in this piece we cover how best to lay our natural stone paving, be it limestone or sandstone, and cover the common questions you may have when undertaking a project such as this.
All our Indian Sandstone and Limestone paving is calibrated to a maximum thickness to make the slabs more uniform and the preparation of your sub-base easier.
Craig Stovold | Forest Stone
Thickness & Calibration of Your Paving
Before making any preparations to the area you plan you need to work out what paving you plan to lay and specifically it’s thickness. This is important as it will impact on how much ground you need to excavate to create the appropriate sub-base. If you’re buying Indian Sandstone or Limestone paving from us it will be calibrated to maximum of 18mm to 22mm. This means you can count on our stone paving being no thicker than the stated calibration thickness – so when preparing the ground for your new paving you’ll know how much gap to leave for the paving section.
-

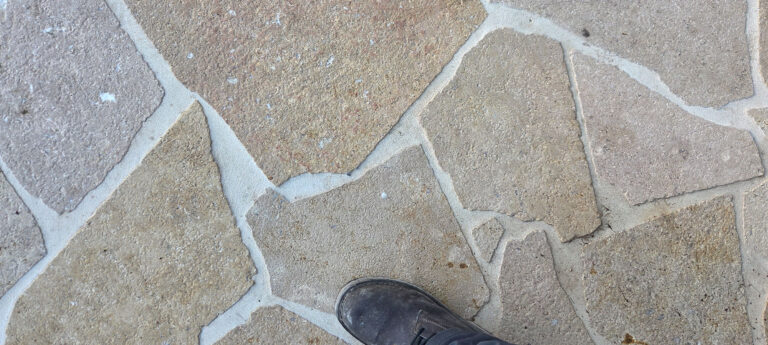
Calibrated Sandstone Paving -
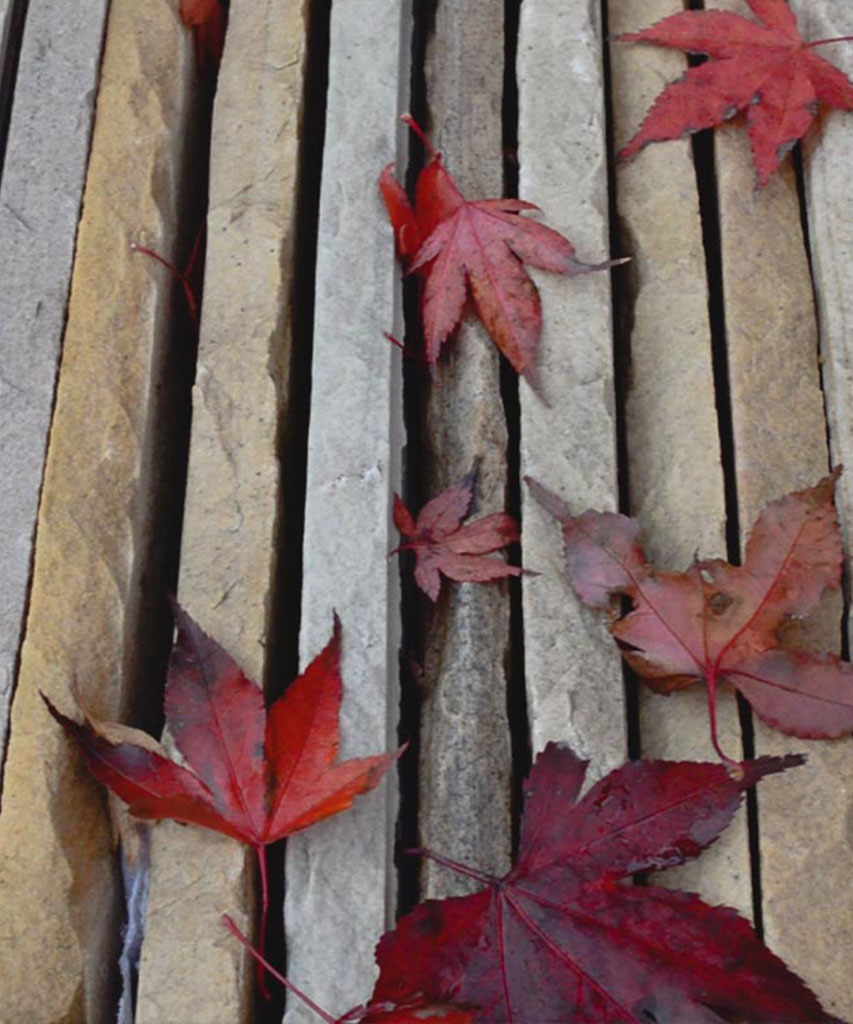
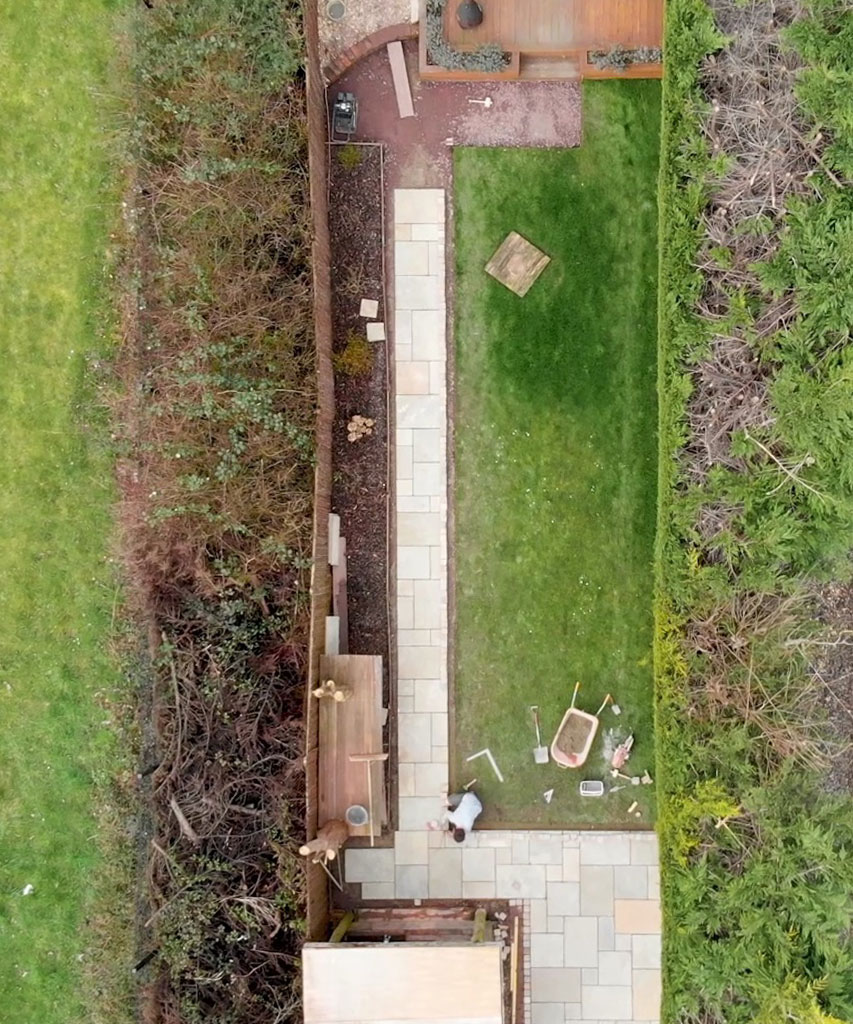
Limestone Being Laid on a Prepared Sub-Base -
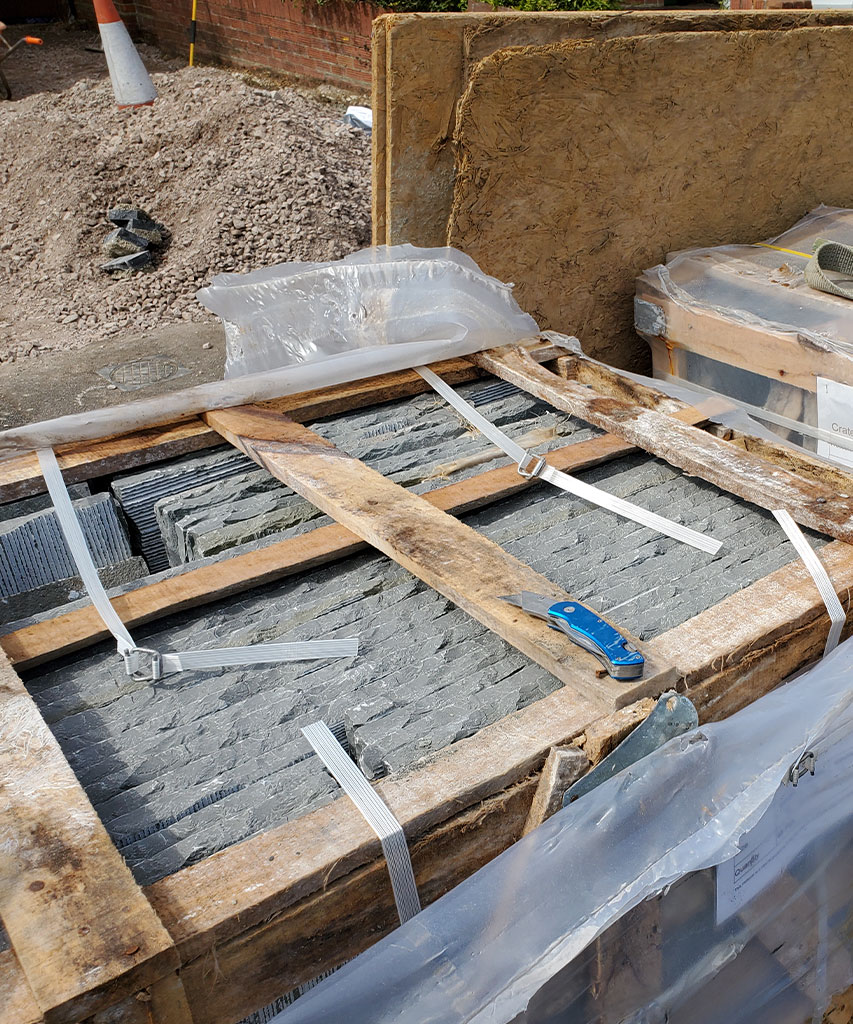
Bartley Grey Limestone on Site Ready to be Laid -
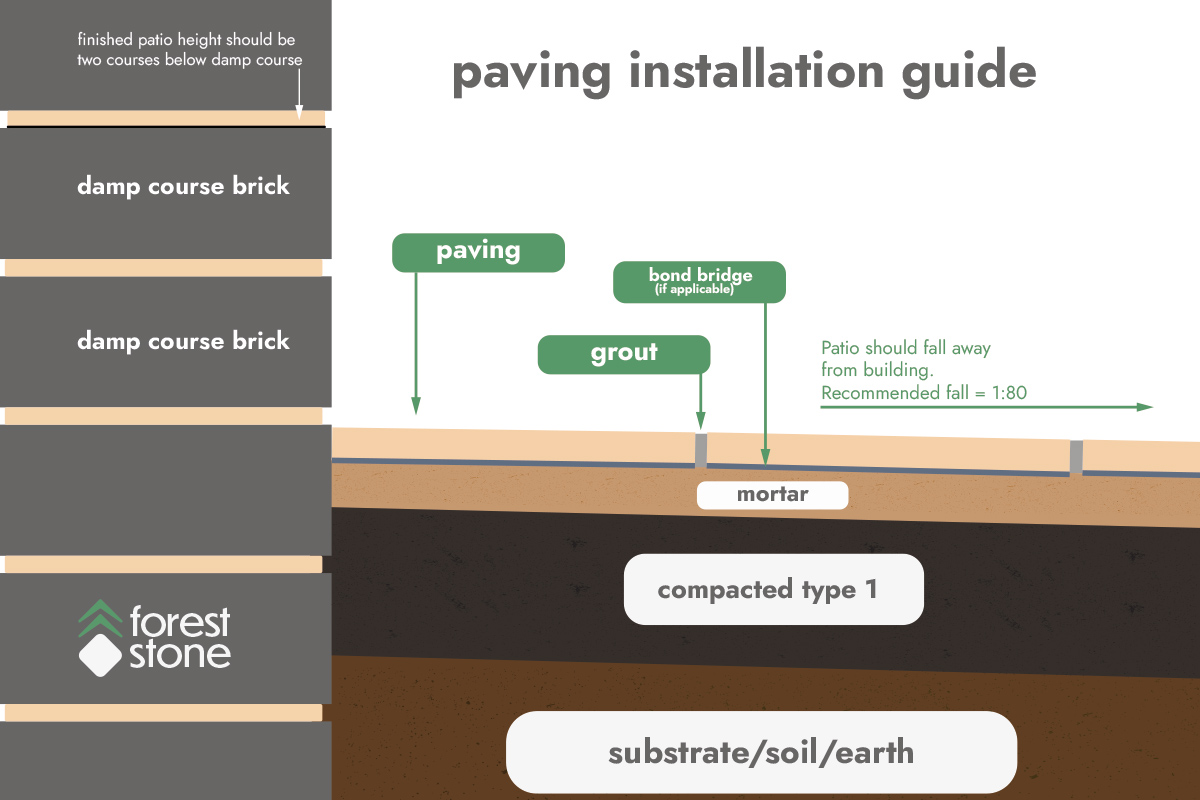
Above is a basic cross section graphic of a typical paving build where the paving flows away from a brick building. Take a good look at this diagram to get a quick understanding of what lays beneath the paving surface of a patio or path.
Preparing The Ground/Digging out
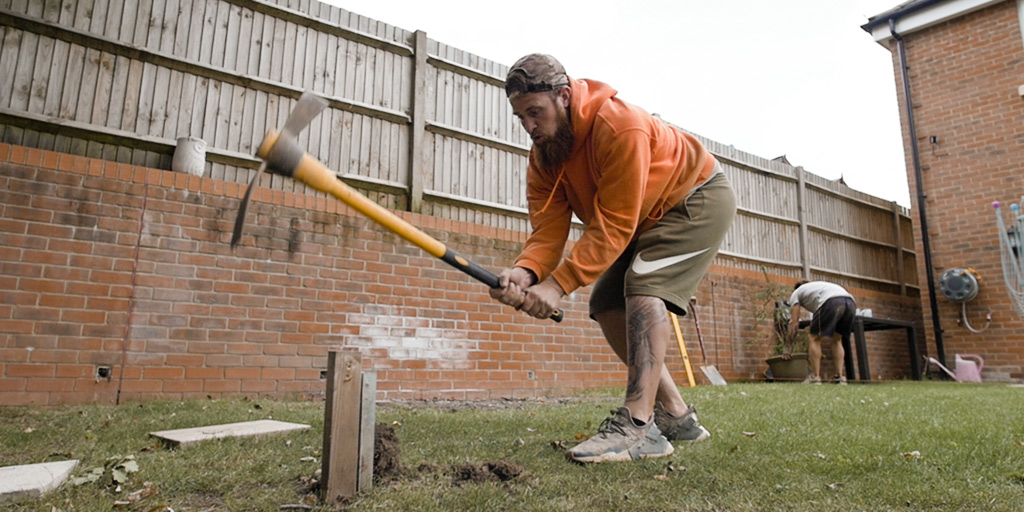
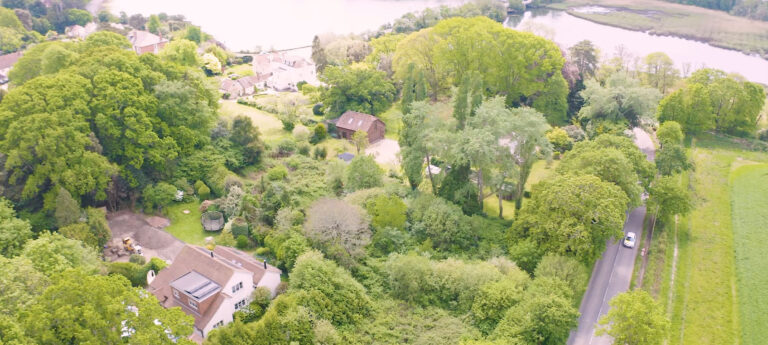
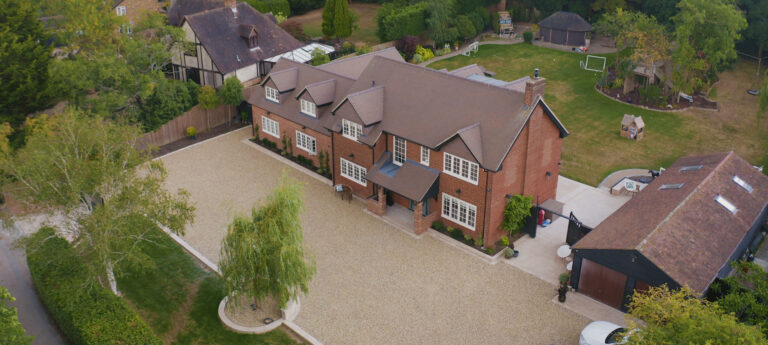
The preparation of your paved area does depend on the ground currently in situe. Is it currently ‘green’ space or lawn? Or so you have a concrete screed or existing paving in place? Whatever the ground is you need to end up with a solid stable base for your paving to be laid upon. If, like in the picture, you currently have a lawn or green space with planting then you need to excavate this area and dig out enough earth to leave room for at least 100mm of compacted type 1 scalpings or road planings plus 30mm or so of mortar mix plus your paving. You shouldn’t skimp on the depth of the compacted type 1 sub-base as this will provide the strength and support your paving will need to last.
If you currently have paving already laid and you’re looking to replace it then you need to lift the paving and assess what is underneath. Many of our clients ask if they can lay on top of the paving that is already there and this is really something we do not recommend. Not only does it mean you have to raise the level of your patio (which may not be desirable) the existing sub-base may not be optimal and this could lead to premature failure of your paving and its joints. That’s why we recommend that you lift the paving that’s there and examine the sub-base. If it’s laid on mud and sand (more common than you think!) you need to treat it as if it’s green land and dig it out as explained above. If it’s concrete or compacted aggregate you may be able to lay your new paving straight onto this – but you should consider whether this sub-base is as deep and well constructed as it should be. If there are already signs of areas that are sunken or breaking down it’s almost a certainty that you’ll have to start again. If all looks good it is worth digging through a section to ensure it’s the correct depth before laying your lovely new slabs. This way you can peacefully enjoy your patio in the future knowing it’s got the right foundations.
Bedding and Laying Your Paving Slabs
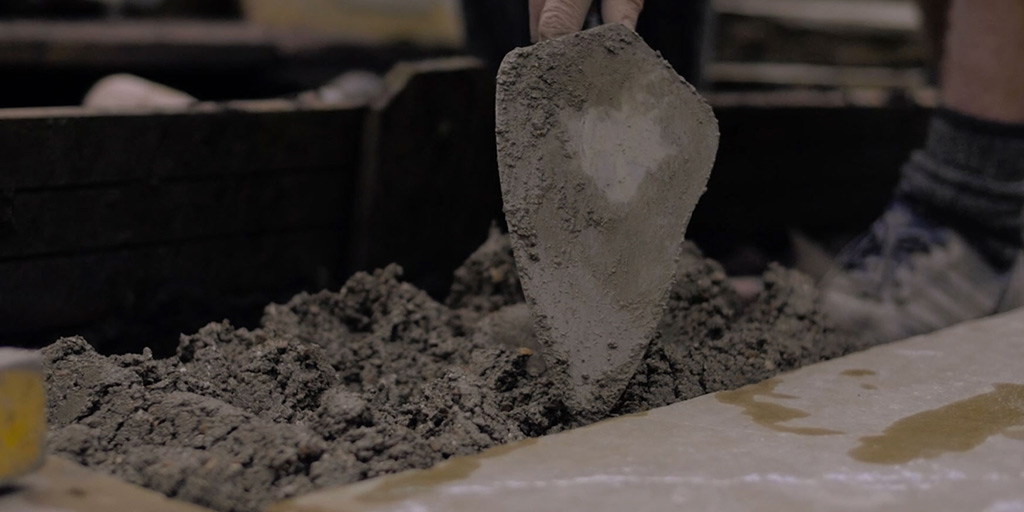
Once you’ve prepped your base the good stuff starts to happen – you get to lay all that pretty new paving! Advice on materials to use to create your mortar mix and how you should bed your paving differs across the industry but broadly speaking when laying natural stone slabs we recommend a mortar made from sharp sand (or ‘grit’) and cement at a ratio of 5 x parts sharp sand // 1 x part cement. The coarser grade of sharp sand allows for better drainage and water dispersion through your base and it is for this reason it is preferred to something finer like building sand. Some contractors advocate the use of a little plasticiser in the mortar to make it smoother and easier to work with. When laying the mortar onto your sub-base you should look to create peaks and troughs of varying heights – these will make a better connection with the highs and lows of the back of the paving when you bed that down onto the mortar.
Can I Dot & Dab or Spot Bed My Paving?
No. And definitely not. We don’t recommend this at all – regardless of the paving choice dot and dab or spot bedding where a few blobs of mortar are tasked with adhering the paving to the sub-base is always a bad idea. Not only does this not save a huge amount of time or money (certainly in the long run) it gives rise to lots of problems with your paving aesthetically and structurally. Structurally it means there are voids underneath the paving and it’s not supported by the sub-base, this will mean the slab is much more likely to come loose. There is an additional side effect of your jointing material not being able to adhere to anything underneath the slab – you’ll waste a lot of grout just trying to fill these voids! And cosmetically you can get odd shapes, patterns and mineral deposits occurring due to moisture not being drawn evenly throughout the paving slab. We advise that you always lay your paving on a full mortar or adhesive bed, always.
Laying Slabs the Correct Way Up
We have seriously heard of many stories where clients have laid paving the wrong way up. Most often saying they liked the look of the reverse side! Each to their own but we think that in most cases clients would prefer to see the prettier side of the slab – the one intended to face up. It’s fairly easy to tell which way most of our paving should be laid as the majority of the natural stone we do is calibrated. With this stone you can see machine made rake marks on the backs. These marks occur when the machine is scraping off highs on the back of the slab to ensure that it is no thicker than the stated calibration level. If in doubt check both sides of the slab for these marks. This is less of an issue if you have bought porcelain paving from us as it is painfully obvious with that stuff that it is single sided.
Using A Bond Bridge or Paving Primer
A bond bridge or paving primer is absolutely necessary when laying porcelain paving however it’s use has crept into professional landscaping of natural stone slabs. Traditionally most recommendations would have been to lay natural stone without a bond bridge or priming adhesive and with something like riven sandstone paving a bond bridge really isn’t required. However we would recommend one when working with sawn sandstone paving (which we tend not to supply) or perhaps with limestone or slate paving where the stone’s propensity not to absorb water can mean it’s a little bit more common for slabs to become loose over time – a bond bridge helps prevent this. You can purchase Ultrascape Pro-Prime from us here at Forest Stone or you can buy SBR and mix this with cement to create your own primer – always follow the instructions of the manufacturer when going this route.
Tapping Down – Consolidating
Once you’ve laid the slab onto the mortar bed you’ll need to tap it down using a rubber mallet. This process is to ensure the slab contacts all of the mortar beneath it. If your mix is correct you should notice a slight suction type effect as the mortar clings onto the underside of the slab. When tapping down you do not need to hit the tile hard and care should be taken, especially with limestone, not to hit the natural fissure lines too hard during this process. You should use a spirit level and string lines during this process to ensure the levels of the paving are correct and the terrace is falling in the desired direction. Also be care during this process not to get much mortar on the surface of the slabs – work as clean as you can to save cleaning later on.
Laying Patterns & Styles
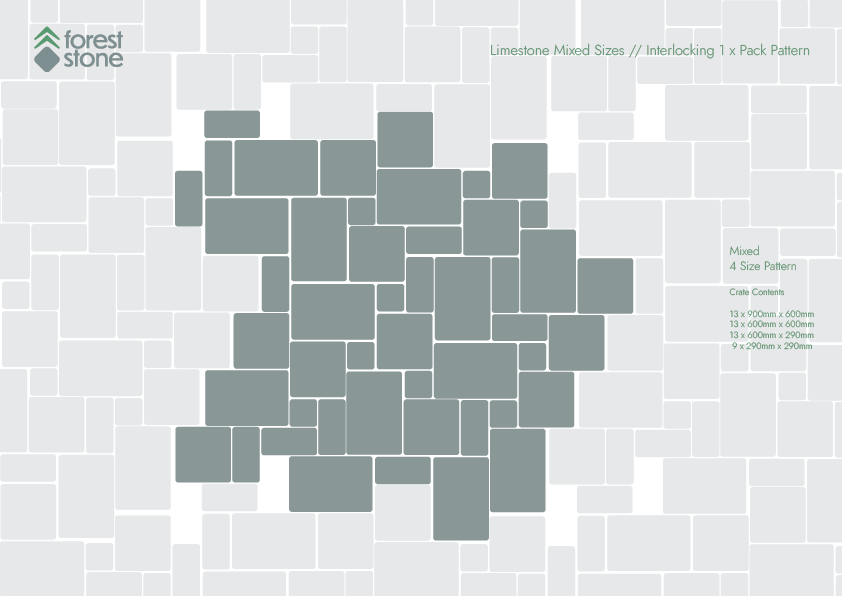
The Random Pattern
With much of our natural stone you’ll be looking to lay it in a random pattern using the four different sizes supplied. We don’t recommend you stick to a pre-determined or templated laying pattern when laying in this style but to actually lay the paving randomly as you go. By doing this you can be sure to use all the different slabs you have available and ensure your patio or path looks truly random. When laying in the random style you just need to remember a few key ‘rules’ for a great looking patio;
- Ensure all junctions between slabs are ‘T’ joins rather than ‘+’ joins where all four corners of adjacent slabs touch.
- Try to use the different sizes fairly evenly throughout the patio build to avoid clusters where one size is dominant.
- Try to avoid straight lines longer than 1.5m or so. As you lay slabs you’ll notice long straight lines appear – you want to head these off with a slab laid across the line to turn it into a ‘T’ junction.
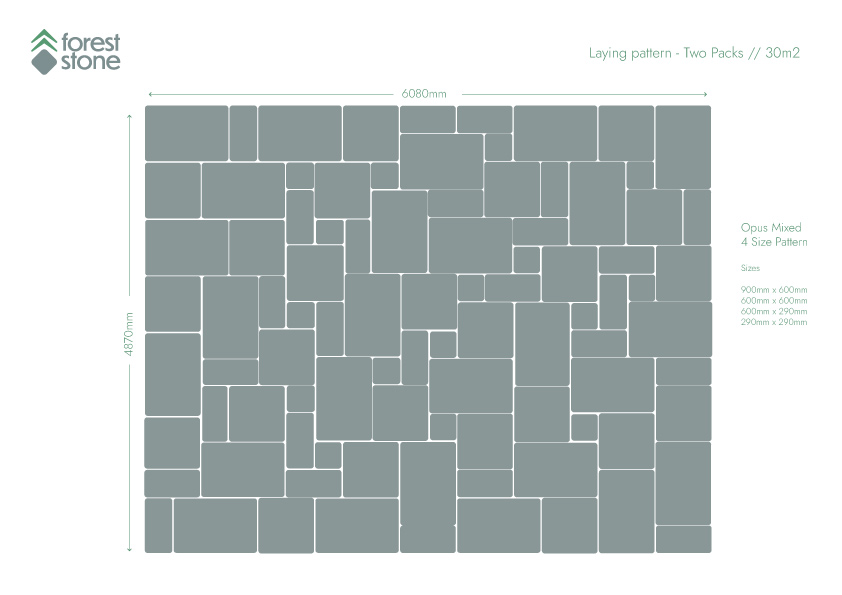
Rather than lay slabs dynamically to create this random look some people prefer to have some kind of plan to work to. If that’s the case we recommend using your order list of slab sizes and planning out your paving on grid style paper. When doing this do make sure you know how many of each size slab you have to ensure your pattern will work with the slabs you have available. And don’t forget you can always contact our friendly sales team for help and assistance if you need it.
Single Size Slabs or Coursed Rows
If you’re buying slabs in a one size only or a couple of sizes but plan to lay them in rows or a grid format then you do not need to worry about laying patterns. You’ll either be looking to create a chess board or checkers type board or you’ll be laying in rows with joins staggered – sometimes referred to as stretcher bond or brick bond. With this laying style one of the main things you need to be mindful of is the size of your jointing gaps. As natural stone mostly has wavy hand-cut edges it’s impossible to work to an exact gap width however working to a rough standard for each of your jointing gaps is advisable so that the paving looks lovely and uniform when finished.
Jointing Material & Pointing
Once your new paved area has been laid and you’re happy with how it’s looking it’s ready to have the finishing touch applied with filling the joints with grout. This is the last process and really brings the paving to life. You can point with a building sand and cement mix or use brush in or flow in resin compounds. All have their advantages and disadvantages. They all look slightly different to each other as well so if aesthetics are incredibly important to you this should be considered. They can all be long lasting options for your joints as long as they’ve been applied correctly so which one you go for may well come down to personal preference. If you’re looking for a long lasting industry leading flowable grout we do stock Flowpoint Smooth which gives a beautiful seamless finish to paving.
You’re pretty much ready to enjoy this new thing you’ve made now. A few last things you may need to consider. Firstly it’s recommended you don’t use the patio for 24 hours or so (weather depending) to ensure the mortar and jointing material have gone off properly. Once you’re satisfied the paving and joints are now solid you may want to carry out a final clean to remove any cement and mortar spills. After the paving is clean and dry it is at this stage where you may want to consider applying a sealant to protect the paving. And now you’re ready to enjoy your new space!